Have you ever read a blog posting from a someone, with photos and a nice summary of something they’ve experienced? Or read something that they wanted to share or discuss? And then thought: “Gee, I want to to that.”
But then you’ve realised that you don’t want all the hassle of setting up a blog, dealing with design, maybe a domain and a lot of administration? Well, there’s no need to be jealous of your blogging friends anymore. You can become a blogger in less than 2 minutes! Because you already have a ready to use blog tool: Facebook!
Where can you find it?
It’s a bit of a hidden feature if you don’t know about it. Sure, sometimes you will see a Facebook posting in your news feed from one of your friends that opens in a bigger window when you click on it, and which contains a title, a photo and formatted text. But surprisingly few use this function.
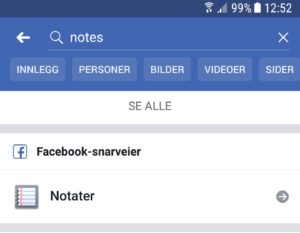
In the web browser you find the notes at the adress www.facebook.com/notes . To find notes (notater på norsk) on the cell phone, search for notes in the search field on in the Facebook app. The notes app will show up and you can click on it:
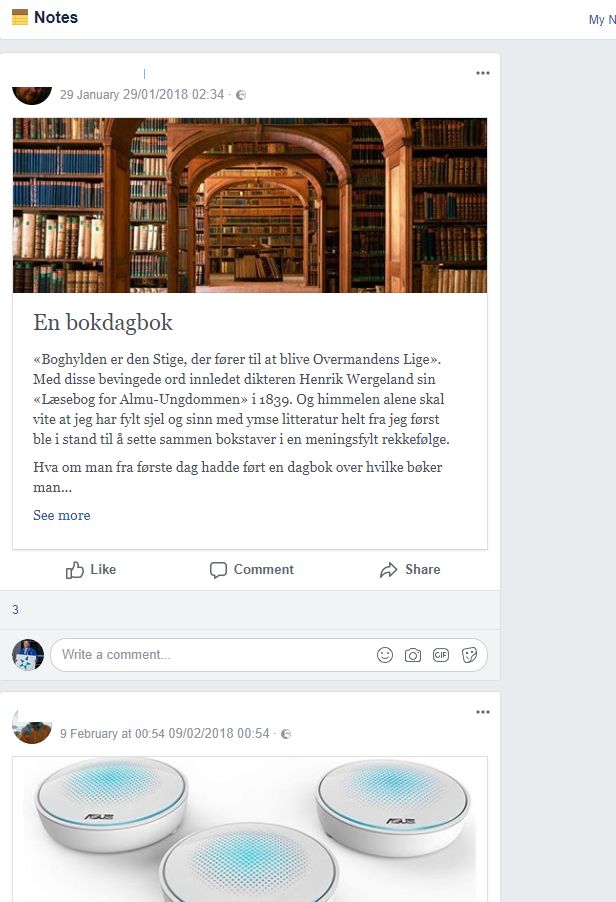
No matter what of these two options you choose, you will now get to a page that lists all the notes of your friends. These notes are like blog postings:
Like your Facebook news stream, they are not listed chronologically. I haven’t found any way to sort them like that, if you do know any solution, feel free to leave a comment below.
To read a note, you either click on it’s title or the See more link. As you can see, a note can look like any normal blog posting:
To close the notes you just hit the Esc button on your keyboard, or the x in the upper right corner.
How to create your own
So, would you like to write your own? That’s easy!
You can create your own notes on both the mobile app as well as in the web browser. This recipe is for the web browser, but the principle is the same for both, even if there are fewer options for the cell phone app.
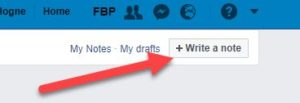
At the top of the facebook.com/notes page you find this button:
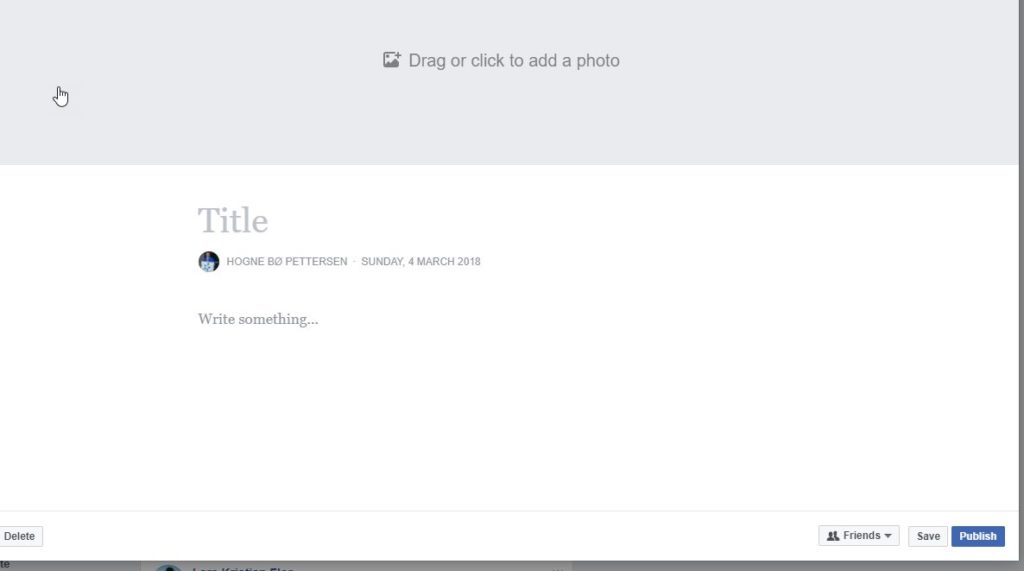
Click on it, and the form for creating a note opens up:
You can now add a top photo (please do, it makes it much more inviting to read your note) and a title. And then you can start writing in the main rich text field.
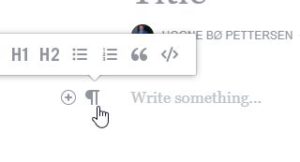
To the left of the rich text field you have two icons. The right icon let’s you choose various types of formatting like headings, lists and quotations:
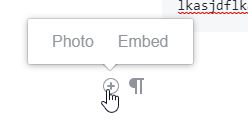
You can also add photos by clicking on the plus sign:
At bottom left of the note form, you have a button called Delete. Click on that if you don’t want to save or publish the note.
At the bottom right of the form you have the following buttons:
Audience: This is the button to the left. Here is where you choose your audience. Do you want only your friends to see this (or a subset of them) or do you want this note to be public for all to see? If you want to start a blog with a big readership, choosing Public is the way to go.
Save: Click on this if you need to save the note, but you don’t want to publish right now. Click on the x in the upper right corner to close the note.
Publish: Click on this when you are ready to publish it.
See all your notes and drafts
In the upper right corner on the www.facebook.com/notes page you will find two menu items:
My notes: This will give you a view of all your published notes. You can use this to go back to them if you want to edit them or delete them.
My drafts: This will give you a view of all your unpublished notes. You can use this to go back and finish them and publish them.
That’s it! Happy blogging!
PS! Facebook has a complete manual on how to use notes, in case you get stuck or have problems.
Did you like this tip, or have any feedback on it? Leave a comment below!
