IBM Connections is a social software tool running in your web browser. Think of Facebook with profiles, groups, pages, likes and comment fields. Then add files and forums and you have a pretty powerful social tool for doing business much more effectively. Via tagging it’s much easier to find, share and discuss files and information, than on intranets or file shares and network drives. Intranets are usually only used for one way information and with network drives you either search for hours on end for a file until finally someone must tell you what drive and folder the file you’re looking for is located. If the other person can remember it, that is…
When working with IBM Connections, as I do in my job, it would still be very impractical if I only could work with files by downloading them in the web browser before I could open them and work with them. Therefore IBM has developed plugins that you can use either from Windows Explorer, Microsoft Office, Open Office, Outlook or IBM Notes.
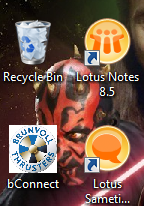
The Explorer and Office plugin is especially useful and the one I use most. When installed you get an icon on the desktop:

- This is the desktop icon for IBM Connections
You also get an IBM Connections icon on the taskbar and in Windows Explorer:
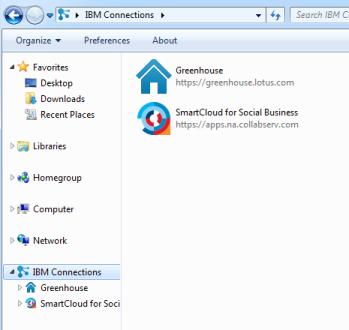
This gives you direct access to either your own files, files in communities you are a member of, files others have shared with you and so on.
There’s also a ribbon in Microsoft Office:

However, in several companies they decide to rename IBM Connections to something that reflects the company name or something that reflects the goal of the tool. In my company we renamed IBM Connections to bConnect. This means Brunvoll Connect and it’s to symbolise that this will help us be better connected.
When I’m training my users, I’ve discovered that the fact that I have to use the terms bConnect and IBM Connections interchangeably is a major source of confusion for the users. IBM Connections in the Office ribbon or Explorer doesn’t mean a thing to them, whereas bConnect does.
With the latest release of the Connections plugin I can now rebrand it to fit my own needs. So here’s the desktop icon:
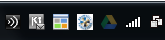
Here’s the taskbar icon:
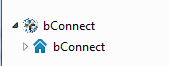
Here’s how it looks in Windows Explorer:
Here’s how the ribbon in Microsoft Office looks:

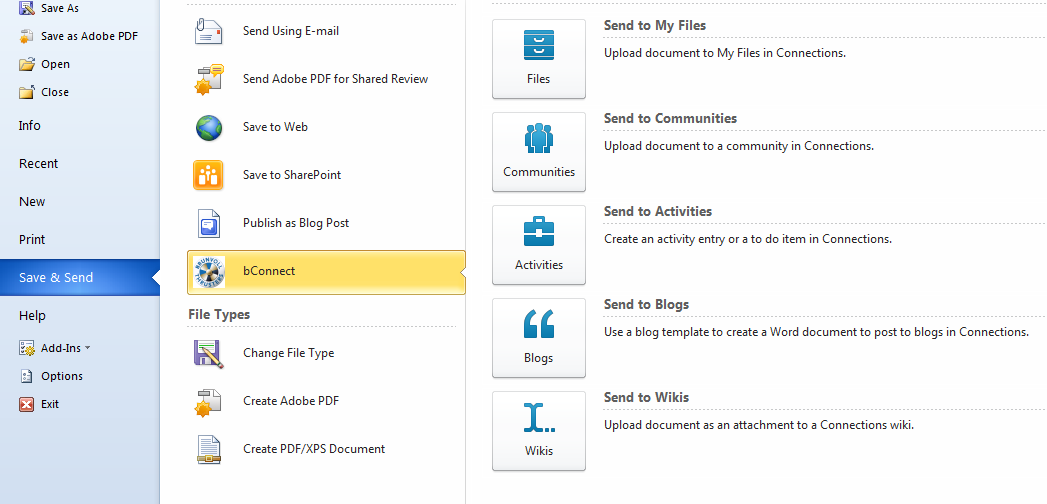
And here’s how the Save & Send selection looks in the File menu in Office:
So how did I do this? This is where it gets a bit tricky. You have to do some changes in the Windows registry. My suggestion is to get your Windows administrators to do this so that they can push this out to all users, instead of every user having to do it by themselves.
This is easily done via Microsoft System Centre Manager. The registry settings will be pointing to the icons you’re using, so these images will also need to be distributed. The best thing would be to put them locally on the computer when the plugin is installed, via an installation package created by your administrators.
IBM has published a recipe on how to do these changes manually in their wiki for the plugin. However, if you want a peak at the what the registry settings should be, here’s how I did it in 64 bits Windows 7:
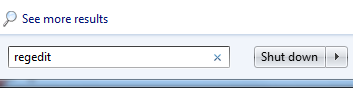
I first went to the start menu and in the search field I wrote regedit:
I then hit Enter and in the regedit tree I navigated to the node HKEY_LOCAL_MACHINE -> SOFTWARE -> Wow6432Node -> IBM -> Social Connectors -> Branding
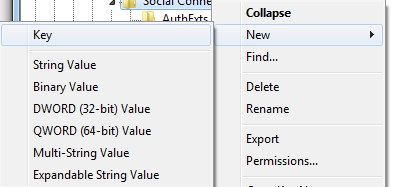
In my case Branding didn’t already exist so I right clicked on Social Connectors and chose New -> Key
I now wrote Branding and hit Enter. After it was created I right clicked on it and chose New -> String value. I gave it the value Main Title and hit Enter. After it was created I right clicked on it and chose Modify:
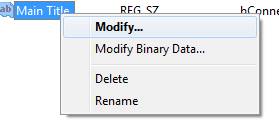
The point here was to replace IBM Connections with my own title, so in my case I wrote bConnect.
When I’d done this I right clicked on Branding and chose New -> Key. I repeated this three times and gave the new keys the following names: Monitor, Office and ShellExt.
When this was done I created a new String Value under Monitor called System Tray Idle. When I modified it I filled it with the complete file path to an ico file that is 16 x 16 pixels. This is the icon that will be displayed on the taskbar when the plugin is idle.
I now moved on to Office and created a new String Value and called it Backstage SendTo Image. After choosing Modify I gave it the file path to a 32 x 32 pixels bmp file. This is the icon that will show up under File -> Save & Send menu in Office.
Finally I created a new String Value under ShellExt, called it ContextMenu Image and gave it the file path to a 13 x 13 ico file. This is the icon that will show up in the context menu that appears when right clicking on a file.
However, I wasn’t done yet. To change the desktop and Explorer icons, not to mention the title from IBM Connections to bConnect, I also had to navigate to the node HKEY_CLASSES_ROOT\CLSID\{21034BDC-B57E-400b-A5D5-2B1E98502805} in regedit.
Here I right clicked and chose Modify first on Default and then on InfoTip. If any of them don’t exist, create them. The process is described in detail above. I gave both the value bConnect when I modified them.
In my case Default Icon was already listed under {21034BDC-B57E-400b-A5D5-2B1E98502805} but if it doesn’t exist, you create it as described above. I modified the default entry and gave it the path to a 256 x 256 pixels ico file.
And there I had it. Everything was now branded, both in title and with our company logo. And hopefully my users will be happier and less confused. As long as I remember to only say bConnect, and not IBM Connections…